How to add a new item
News items are a special content type that is driven by categories, allowing you to create and aggregate news elements to any part of the site. Adding a news item is a simple process that can be done in a few steps.
Step 1 - Navigate to the Add news page
To get started, you will want to navigate to the add news page. This can be done by clicking on the Add News link in the left navigation menu.

Once the page has loaded, we are ready to create our first news item.
Step 2 - Fill out the form
Once the news page has loaded, we will be given a few option to fill out. To start with we will want to fill out the following fields:
- Title
- Thumbnail
- Short Description
Settings - The setting section allows you to set a few options for the news item. These options are:
- Show categories
- Assigned category
- Show Title
- Show Bread Crumbs
- Link
Page Widgets - The page widget section allows you to design the detail page using page widgets. See widget section for available page widgets
Title
To start, we will want to fill out the title of our news item, this title will be what is used to display on the site.

Thumbnail
Now that we have the title set, we will want to choose a thumbnail image. The thumbnail image will be used to when displaying the news item in a page widget. As an example, when using the blog list page widget, the thumbnail will be displayed to the left of the news item.

While there is not a specific size requirement for the thumbnail image, it is recommended to make the image square, and a minimum of 375px X 375px.
When adding the thumbnail, ensure you are adding alt, descriptions, title, and caption text via the file upload dialog. This will ensure the image is accessible and will be used for SEO.
Short Description
The next area we will want to fill out is the short description. The short description should be a snippet or small paragraph of what the news item is about.

The short description will only be displayed when the blog widget is in a list display type AND in the search results.
Settings
Now that the general information is filled out, we will move onto the setting of the news item.
Show Categories
The first area we will see if the show categories setting, this is an optional setting that will allow us to display the category on the detail page. For this demo we will go ahead an enable it, however you can disable it at any time.

When we enable this section, we will see a new area appear called Display Category
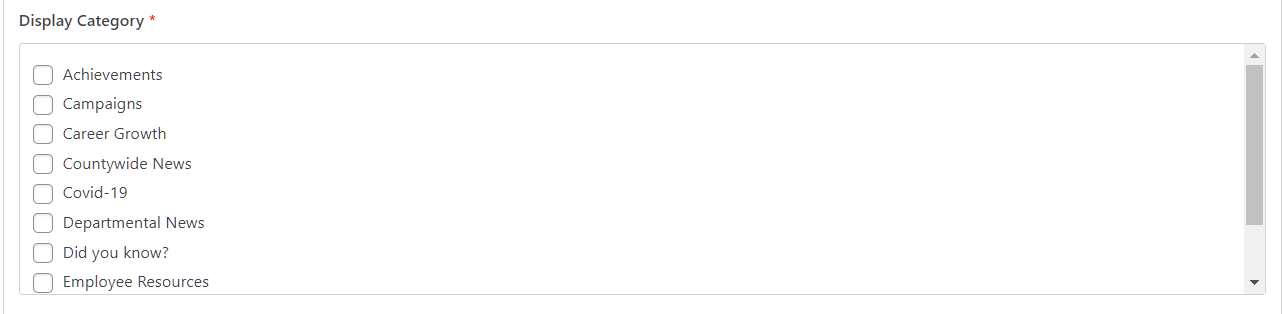
The display category allows us to choose what categories we want to show in the left hand menu of the detail page.
Assigned Category
Moving down the list, we will see the assigned category section. This will determine what categories the news item belongs to, and ultimately will determine where the content will show up. For this, we will choose two categories
- Campaigns
- ISD Information

Your category names will differ, so choosing the correct categories will be important, the categories shown above are for demo purposes only.
If the category you want is new or not listed, you can always add a new category by clicking the + icon int eh assign category section.

Show Title
Now that we have the categories set, we will move onto the show title section. This section will allow us to determine if we want to show the title of the news item on the detail page.

This option is only valid if we are using the Detail page for the site, if an external URL is used, this option is ignored.
Show Bread Crumbs
The last setting we have is the show bread crumbs option. This option will, when enabled will show the bread crumbs on the detail page, for this demo we will enable that as well.

Link
The last option is link, we will not fill this in, however, if we wanted the news item to link to an external site, we could do that here.
Step 3 - Add page widgets
The last and final step is to build out the details of the actual page. Like pages, news items can utilize any of the page widgets to build out the look of the page. Even loading up other news items.
For the purposes of this demo, we will simply add a 'Content Block' widget and add some text to it.
Select Add Widget, and choose the Content Block widget.

We can simply fill out a bit of content, and close the content window. We should see the single widge on the page

Before we save the news item, our page should look like this:


Step 4 - Save the news item
Now that our content looks correct, we will save the news item. To do this, we will click the Publish button.
Step 5 - View the news item
Once the item has been published we will view the home page first. We do this because we know the home page news items is set to Campaigns
When viewing the home page we now see our news item

Let's go and navigate to the ISD page too, we know it should display there as well because we set it to both categories.

We can also see it displayed on the ISD page, but this time we see the short description, this is because the page widget on the home page and ISD page are differnt display types
View the widgets section for more information on display types
Next, we want to view the detail page of the news item, to do this, simply click on the news item title.

To break this down a little, we see at the top of the page the breadcrumbs

Next, we see the 'left navigation' with the selected category
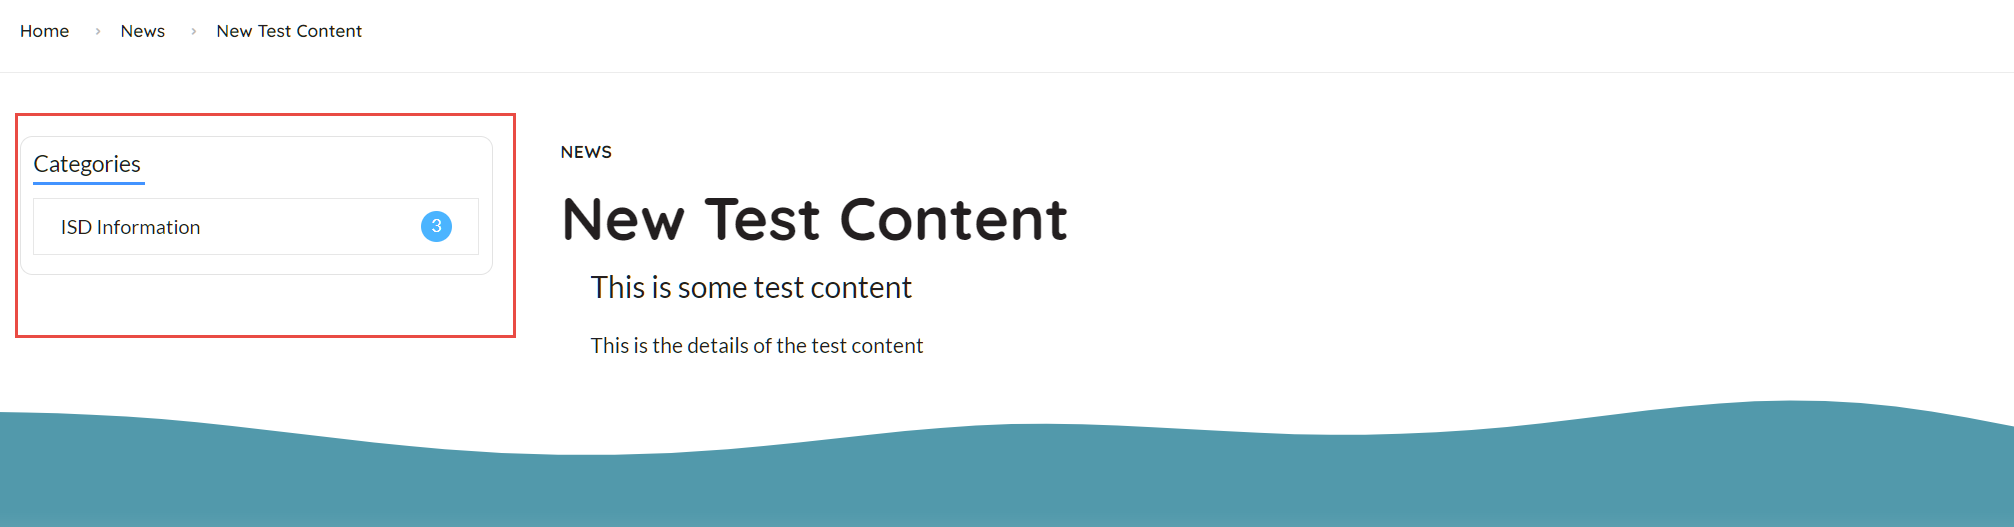
And also the title

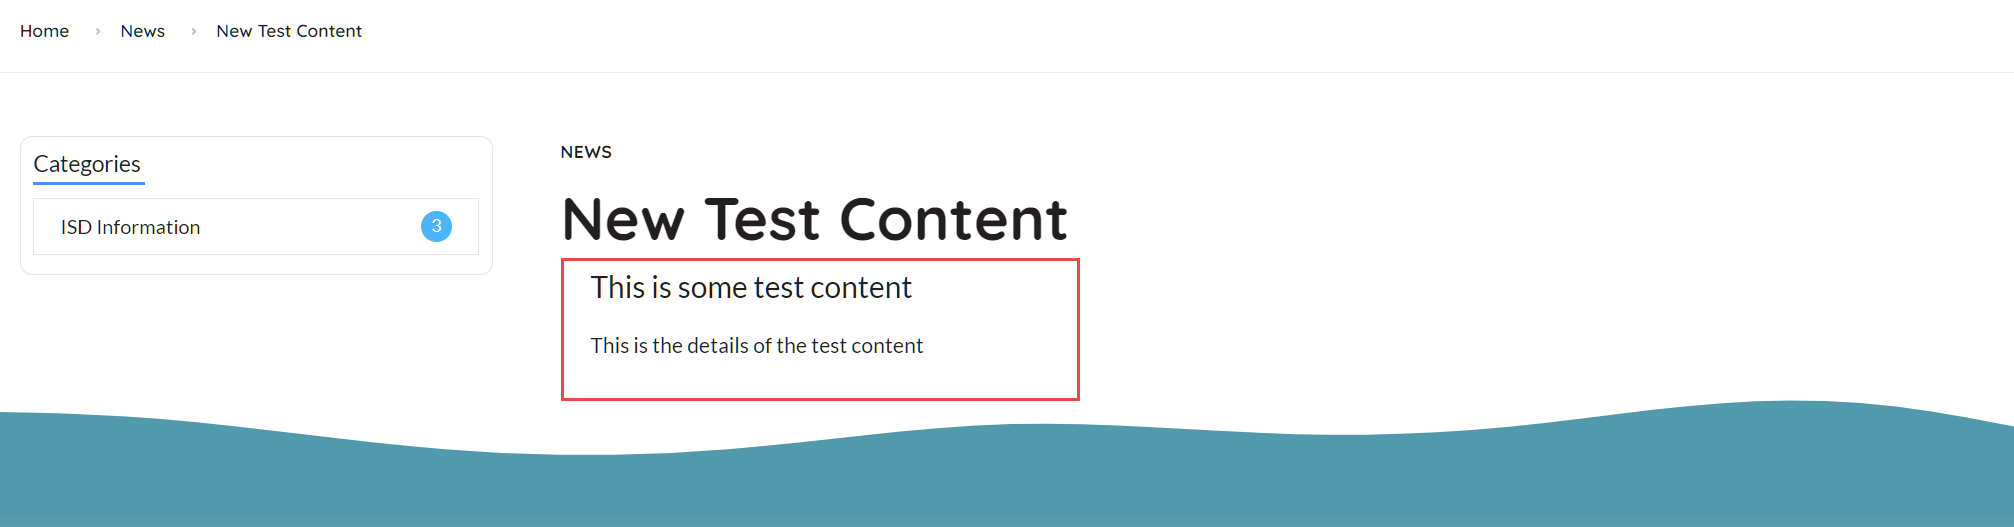
And finally, the page widget itself
🎉 Congratulations!
You created your first news item!